Recipe: Armadillo Eggs


Looking for the perfect manly finger food to serve at your next football party? Armadillo eggs are a cousin to the ABT and are a favorite on the BBQ trail. These spicy, creamy and meaty treats are more than a mouthful.


3-4 large jalapenos (or sweet banana peppers)
2 lbs of breakfast sausage
1/2 cup of shredded cheese
4 oz cream cheese
BBQ Rub

Yields 18-24 Eggs
Cook / Prep Time: 75 minutes


Quarter the peppers and remove the seeds. For the larger peppers, you may need to cut them into several chunks.


Mix the cream cheese and shredded cheese together in a bowl. This will be your filling for the peppers.


Cram each section of pepper with the cheese mixture. Fill each cavity completely.


Take a portion of the sausage and press it into a thin patty. Center the cheese filled pepper in the patty and wrap the sausage evenly around the pepper. Press and seal the edges.


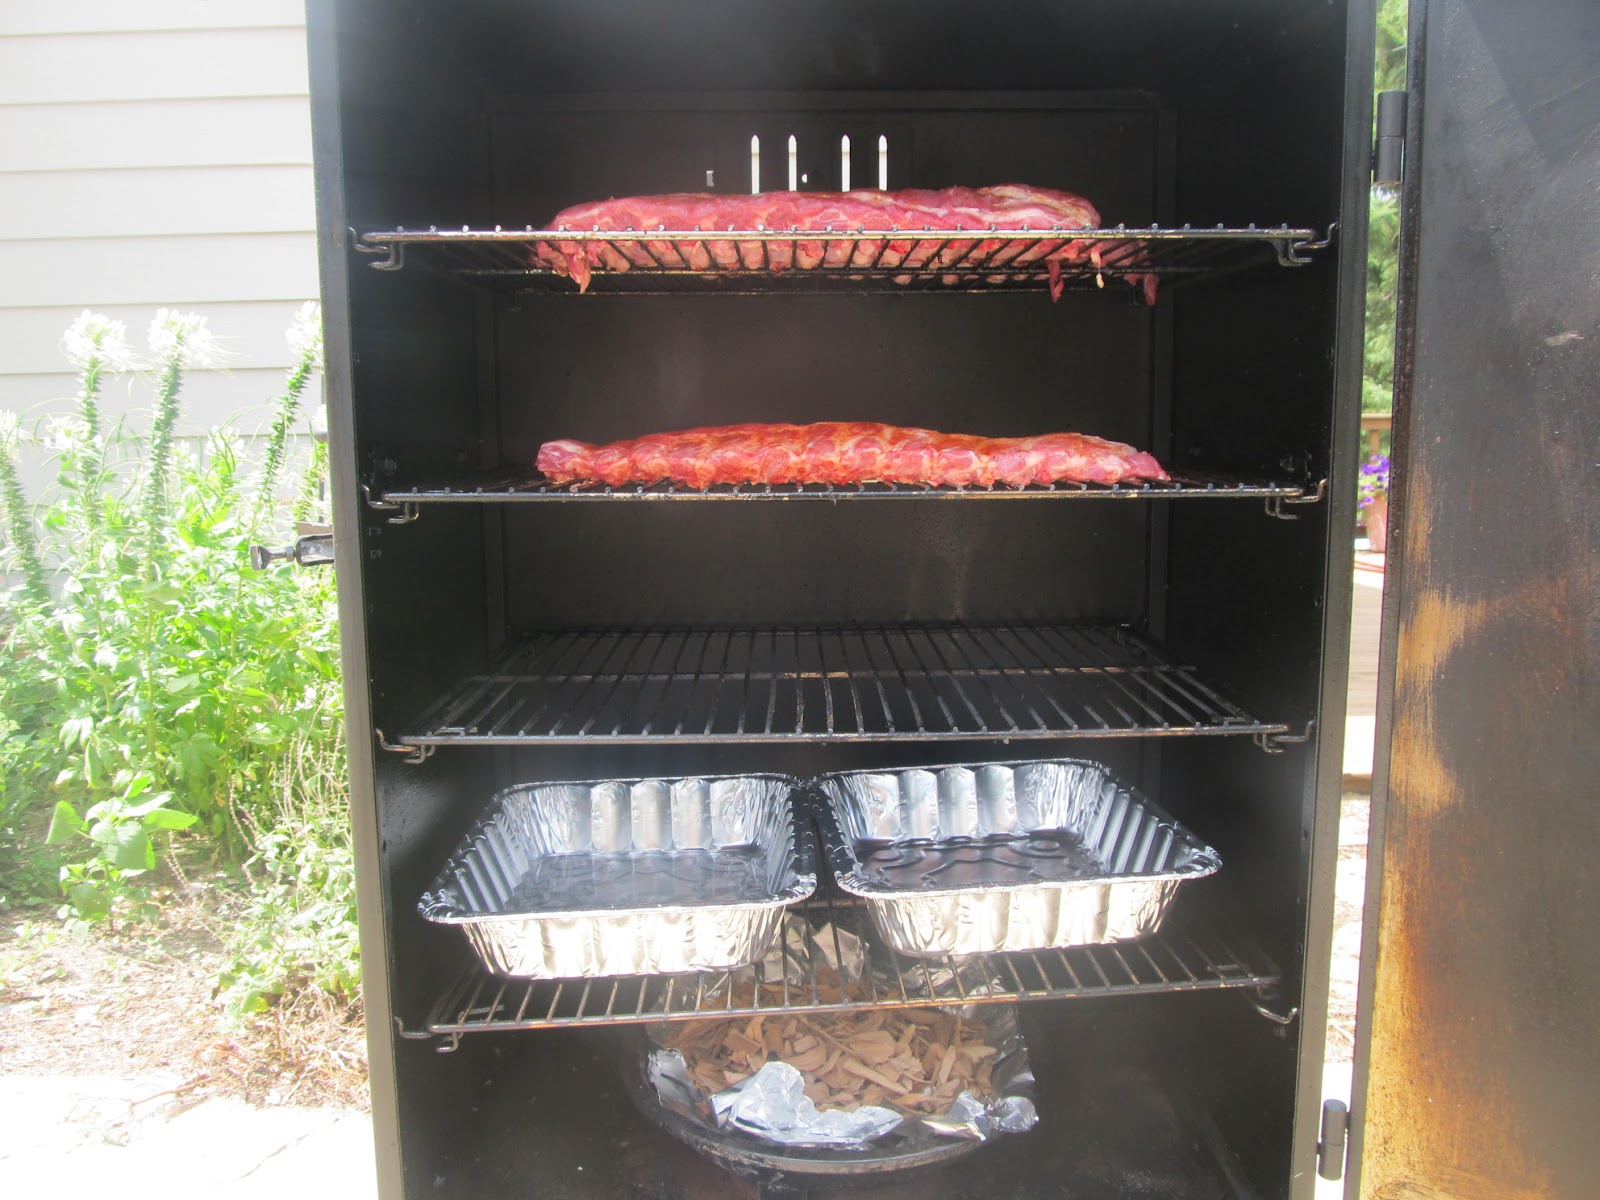
If you spread your sausage thin, 2 lbs should yield 24 eggs. Mine were on the thick side so I only got 18. Season the eggs with your favorite BBQ rub and cook them @ 325 for 30-45 (depending on thickness). These absolutely work best on the smoker (with mesquite wood), but can be done in the oven as well. You'll miss out on that added smokey flavor element, but they'll still be tasty.


Don't be alarmed if some of that molten hot cream cheese squirts out of the eggs. It's bound to happen. Some people sauce these, but they have enormous flavor on their own. I didn't find sauce necessary.

Armadillo Eggs are great served whole and hot off the smoker, but they're also excellent chilled and sliced. Slices also make delicious toppings for homemade pizza.

There are numerous recipes for Armadillo Eggs on the web, but the inspiration for this particular recipe was drawn from www.meatwave.com


Smoked Meatloaf with Brown BBQ Gravy


We're going with old fashioned comfort food this week. Using a smoker, rather than a convection oven, our beef and pork meatloaf has a beautiful smoke ring that adds a whole new dimension of flavor. Additionally, BBQ sauce is added to homestyle brown gravy for a unique, savory topping that's awesome on both meat and potatoes.


Meatloaf
1.5 lbs ground beef (80/20)
1 lb breakfast sausage
1 small onion (diced)
2 eggs
2 tablespoons of breadcrumbs
BBQ Rub

Gravy
3 cups beef broth
1/4 cup butter
1/4 cup flower
2 teaspoons cornstarch
2 tablespoons water
Salt and pepper

Makes 6 servings
Prep / Cook time: 2 Hours


Mix the meat, onions, eggs and breadcrumbs thoroughlly with your hands. You can use all beef, but I love the added fat and flavor that breakfast sausage brings to the table.


Form the mixture into a loaf. For even cooking try to make the loaf equally thick throughout. Season the outside liberally with your favorite BBQ rub. This will give the outside a nice dark crust. Place the loaf in an aluminum pan.


Set up your grill or smoker for indirect cooking. We're shooting for a temp of 325 degrees. Cook time should be about an hour and forty-five minutes. I used hickory wood for it's smooth, but bold smoke flavor. Mesquite would also be a good option.


When the meatloaf is nearly done, it's time to start on the gravy. Melt the butter in a sauce pan over medium heat. Add the flour and wisk thoroughly for a couple minutes.


Add 3 cups of beef broth. Dissolve the corn starch in 2 tablespoons of water and add to the broth. Bring to a boil and continue to wisk until the gravy thickens. Season with salt and pepper.


Check the meatloaf with an instant read thermometer. We're looking for an internal temp of 160 degrees. When the meatloaf is done, remove from the pan and let rest for 10-15 minutes before slicing.


Serve with mashed potatoes and your favorite vegetable. This meatloaf is comfort food at its absolute best. You'll be amazed how much the smoke adds to the meat's flavor.


Old Mule Original BBQ-Marinade-Dipping Sauce


As most of you know, I moved from North Carolina to Michigan this summer. Fearing I wouldn't have quite the same access to great BBQ products in the Wolverine state as I did in the Carolinas, I spent our last week in North Carolina scouring supermarkets for local sauces. On my final trip to Harris Teeter (High Point, NC), I picked up a jar of Old Mule Original BBQ-Marinade-Dipping Sauce.

Old Mule Inc. is a small, family run operation that cooks their sauces on a farm in the Blue Ridge Mountains. The sauce originated as a homemade treat given as Christmas presents to friends and family. As with many small businesses, it took several years and a lot of support (and prodding) from family to turn Old Mule into an actual business venture.

Old Mule Original is packaged for retail sale in either 18 oz glass mason jars or half gallon glass jugs. The vintage brown label is simple, but stylish. According the Old Mule website, they were shooting for a look "reminiscent of the old time general store." The original sauce is a beautiful mahogany color, speckled with black pepper and various spices. It's fairly thick, but still pours quickly thanks to the large opening on the mason jar.

Despite it's deep Carolina roots, Old Mule Original is a tomato based sauce. It is, however, accented heavily with vinegar. More like something out of the Midwest, Old Mule is fairly sweet thanks to brown sugar and corn syrup. The vinegar, along with a bit of pepper spice are clearly noticable in the finish. The overall tone of the sauce is very well balanced. It's a Kansas City sauce with an extra bit of vinegar tang.

I was anxious to sample Old Mule because it just looked so great in the jar. The color and thickness screamed RIBS so I picked up a few slabs of baby backs (got an incredible buy). I used Old Mule as a finishing sauce for the slow smoked ribs and was thrilled with the results. The rich color and smooth texture made the ribs a work of art. I felt like Picasso as I carefully glazed each rack.

As I'd expected, the flavor of the sauce was a perfect compliment to the smokey pork. It especially paired nicely with the sweet and savory BBQ rub (Jake's) I'd used. Like so many other sauces, Old Mule seemed to get better when heated. It thinned slightly, but still maintained a rich, bold flavor with just a hint of tangy spice. It went over well with the Michiganders that I fed.

The previous paragraphs would seem to suggest that I enjoyed my first taste of Old Mule. However, just to make my feelings about the sauce clear, it should be noted that Old Mule Original BBQ-Marinade-Dipping Sauce was my choice to use in my first competition cook. I did test cooks with a few excellent sauces, but ultimately settled on Old Mule for it's bold flavor and beautiful color. It should also be noted, however, that I never actually competed. With the impending due date of our daughter just a few days after the event, I was reluctant to pay the entry fee with the possibility of being unable to compete looming.

Fortunately for me, no competition meant that I got to enjoy more of the sauce for myself. Old Mule was just as tasty on back yard BBQ as it would have been in competition. Who knows, if I'm fortunate enough to score another jar, maybe I'll use it for next year's competition. Re-stocking on sauce may be a good excuse for a return trip to North Carolina.

For more info on Old Mule sauces, check out www.oldmule.com. Don't forget to see how Old Mule Original BBQ-Marinade-Dipping Sauce rates on The "Q" Review's "Product Reviews" page.

Recipe: Grilled Shrimp Roll


This week we step outside the norm for an easy, inexpensive take on a New England classic. Rather than breaking the bank on lobster, this delicious sandwich substitutes sweet grilled shrimp tossed in mayo and loaded on a buttered hot dog bun.


2 lbs large shrimp (peeled, deveined and tails removed)
1 1/4 cup mayo
2 tablespoons chopped dill
1/3 cup diced celery
2 teaspoons lemon juice
1/4 butter
4 hot dog buns
2 tablespoons olive oil
Salt and pepper

Serves 4


Grilling the shrimp is the first step. Since my grill wok is currently in storage, I elected to skewer the shrimp for the grill. Drizzle the shrimp with olive oil and season them with salt and pepper. Set the grill up for direct heat. Grill on medium/high for 2 minutes on each side (until pink).


Chop the shrimp and set aside to cool. Be sure not to over chop them. Big, succulent chunks of shrimp are what makes this sandwich so good.


Mix the mayo, celery, dill and lemon juice thoroughly while the shrimp cools.


Brush each hotdog bun with melted butter and brown them on the grill. The crispy, buttery bun is one of the key elements to pulling this sandwich together.


Toss the chopped shrimp in the mayo mixture. Load up the buns with equal portions of the mixture. They can be served warm or chilled (lettuce and tomato optional). Cape Cod kettle cooked chips are good compliment to the sweet, creamy shrimp.

Despite being ultra easy, this is a dish that is sure to wow guests. Small touches like fresh dill and buttery grilled buns elevate this to a top shelf sandwich. It sure beats hot dogs.

Original recipe from www.framedcooks.com

Recipe: Pull Bread


It's week 2 of the 2012 college football season and our Game Day Recipe series is in full swing. This week's recipe is one of my absolute favorites. Pull Bread is a fun, delicious finger food that everyone will love. Our recipe is kept simple with just a few ingredients, but this dish is fully customizable.


1 loaf of rustic Italian or French bread
12 oz. shredded cheese (8 oz. pepper jack, 4 oz colby)
1/4 cup finely diced pickled peppers (jalapeno or pepperchinis)
1/4 cup butter

Serves 6-8
Cook Time: 25 minutes

Preheat the oven to 350. Using a long, sharp slicing knife, cut a checker board pattern of 1 inch squares into the bread. Slice about 3/4 of the way through the loaf.


Mix the cheese, peppers and melted butter in a bowl with your hands or a fork.


Now comes the fun part. Stuff each crack in the loaf of bread with the cheese mixture. Fill each crack with as much of the mixture as you can. It's a messy process that doesn't have to be done perfectly. Just keep stuffing until you run out of cheese.


Once stuffed, wrap the entire loaf in aluminum foil and seal the package. Bake in the oven for 15 minutes. Unwrap the loaf and return to the oven for an additional 10 minutes.


Serve the bread hot. Ranch dressing and marinara sauce are good dipping compliments, but it's excellent on it's own. Add crumbled bacon, chopped olives and green onions for a festive appetizer. Or, mix in some garlic and serve as a side dish for Italian meals.

GGG Foods' Road Kill E-Lick-Sir


Glenn's Gourmet Goodies produces some of the most unique and versatile sauces that I've had the fortune of using. Each sauce, from White BBQ to Wasabi, starts with a soybean oil and vinegar base. It's like mayo without the egg. Glenn then cleverly expounds on these mild base ingredients with bold flavors like Chipotle and Wasabi. None of the sauces, however, is more bold than GGG's Road Kill E-Lick-Sir.

Road Kill E-Lick-Sir is packaged in half liter (16.9 oz.) plastic bottles. Like GGG's Chipotle sauce, Road Kill is orange with coarse flakes of black pepper. Additional, more finely ground, spices can also be found in the sauce if you look closely. It's on the thicker side and pours slow, but steady.

Road Kill's aroma is strong and distinct. I would compare it to a Thousand Island or French salad dressing with a TON of added pepper spice. One whiff told me that Road Kill E-Lick-Sir was not a mild sauce.

I found the flavor to be very similar to GGG's Chipotle sauce. It may have the spice level kicked up a notch or two, but both sauce definitely share many ingredients. The sauce starts out smooth and finishes with a sharp, back of the throat burn.

Like all of Glenn's Gourmet Goodies' sauces, Road Kill is incredibly versatile. I used the sauce to finish grilled chicken breasts. It gave an otherwise boring piece of meat phenomenal flavor. The spice mellows just a touch when the sauce is heated, but there was still enough punch to make sweat beads form on my forehead.

Road Kill also works great as a dip for chicken fingers or anything else that comes out of the deep fryer. Perhaps my favorite use for Road Kill is as a mayo substitute for sandwiches and salads. Burgers and fish sandwiches can be taken to a whole new level with this sauce. It can also spruce up standard cole slaw, potato salad, or chicken salad. Just replace a portion (tailor it to your heat preference) of the mayo in the recipe with Road Kill.

This is the third sauce that I've reviewed from Glenn's Gourmet Goodies. Each has been as tasty as it is unique. I can't say enough good things about Glenn's sauces. Very few companies produce white sauces and even fewer produce sauces with the same level of care and creativity.


Recipe: Appleback Ribs


Today marks the beginning of the 2012 college football season. With it, comes the return of The "Q" Review's Game Day Recipe series. Since last season, a great deal has changed. My family and I have left North Carolina and returned to our home town in Southern Michigan. The week 1 Game Day Recipe pays tribute to our beloved home state's agricultural and culinary heritage by infusing apple flavor into baby back pork ribs.

"Appleback" is a phrase that I thought quite clever when the concept first began to germinate in my mind.  Alas, a quick Google search revealed that I wasn't so clever (or original) after all. In fact, the interwebs contain numerous references to and recipes for "Appleback" ribs. Let it be known, however, that I did not copy this recipe from anyone in particular. I simply adjusted my usual baby back cooking methods slightly to allow for more apple usage.

Ingredients
3 Racks of Babyback Ribs (loin back)
1 apple sauce snack cup
1-2 cups of apple juice
Sweet (low sodium) BBQ rub
Apple based BBQ sauce

Cook Time: Approximately 4 hours


Peel the membrane from each rack of ribs and season both sides with BBQ rub. I chose Butcher BBQ's Honey Rub because of it's sweet, mild ingredients. I think it's an excellent compliment to pork and allows the apple flavors in the other ingredients to stand out.


Set up your grill or smoker for indirect heat with a target temperature of 250 degrees. We're smoking these ribs with only apple wood (of course).


After an hour, brush or spray each rack with apple juice. Replenish the smoking wood if necessary.

After two hours of smoking, it's time to tent the ribs. Spoon the apple sauce and brown sugar on long sheets of aluminum foil. Try to spread the sweet mixture out about as long a full rack of ribs. Put the ribs meat side down on the foil and wrap tightly. Put the ribs back on the grill / smoker until tender (1-2 additonal hours).


Once unwrapped, the ribs be tender enough to pull apart, but not so tender that they fall apart. Brush the ribs with your favorite apple based BBQ sauce. I chose The Berry Patch's Apple Butter Barbecue Sauce. After applying the sauce to both sides of each rack, the ribs go back on the smoker for an additional 20-30 minutes.

The end result is a mouthwatering rack of smokey bones with a sweet, subtle apple flavor. Apple is a great compliment to pork, but cherry and peach flavor profiles can be equally delicious. The same steps above can be applied.


powered by Blogger | WordPress by Newwpthemes | Converted by BloggerTheme